Horizontal Heavens
Observatory
"...From A Galaxy Far, Far
Away"
Clear Sky Chart

This page was last updated on 10/08/14.
Horizontal Heavens
Observatory
"...From A Galaxy Far, Far
Away"
|
|
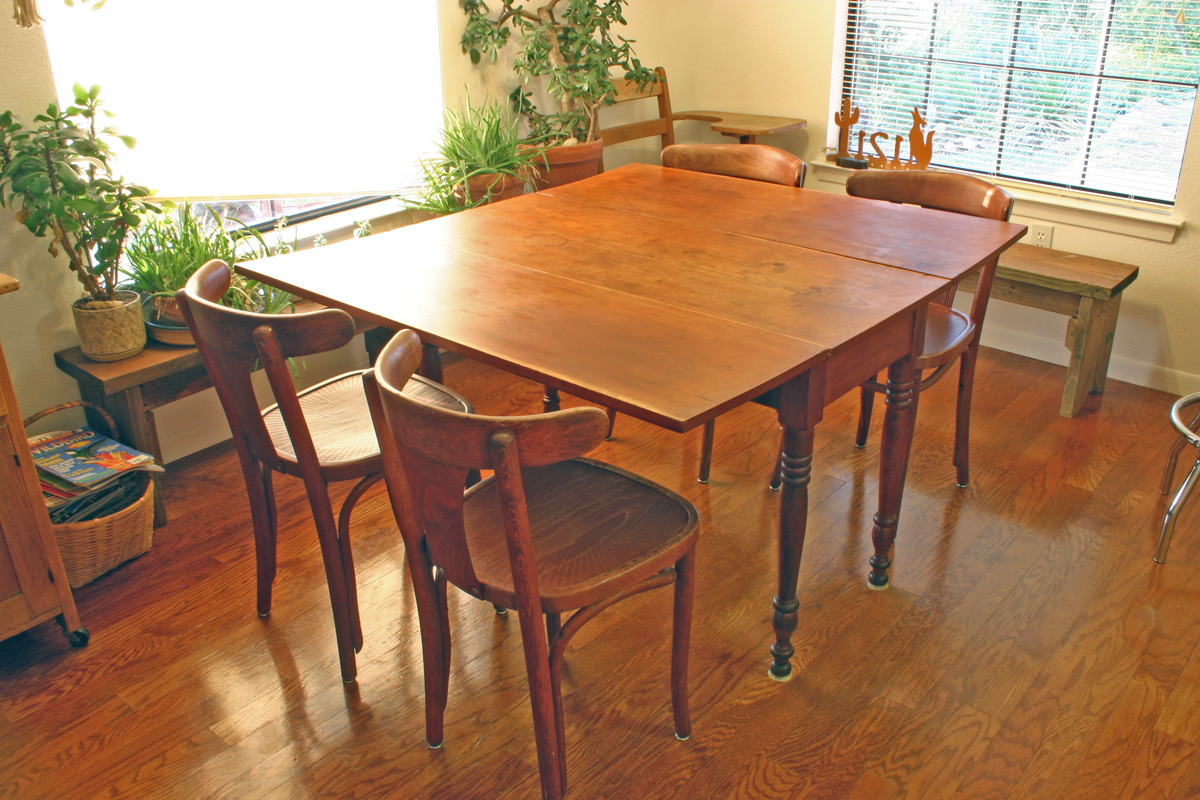
Wood Working Projects (click images to enlarge view)Country Sheraton Style Cherry Drop Leaf Table Restoration -- ~circa 1846-1856(Below) This is our dining table and it gets daily use. The table base was getting loose at the mortise and tenon joints on 3 of the 4 corners so it was time to do something about it. This was my adventure in looking back nearly 200 years into the eyes of the woodworking craftsman that built this table. Once I had the table apart it felt like I was there helping build a new table using the original hand tools along with the original woodworker, with the only exception being my effort to preserve as much of the original finish as possible.
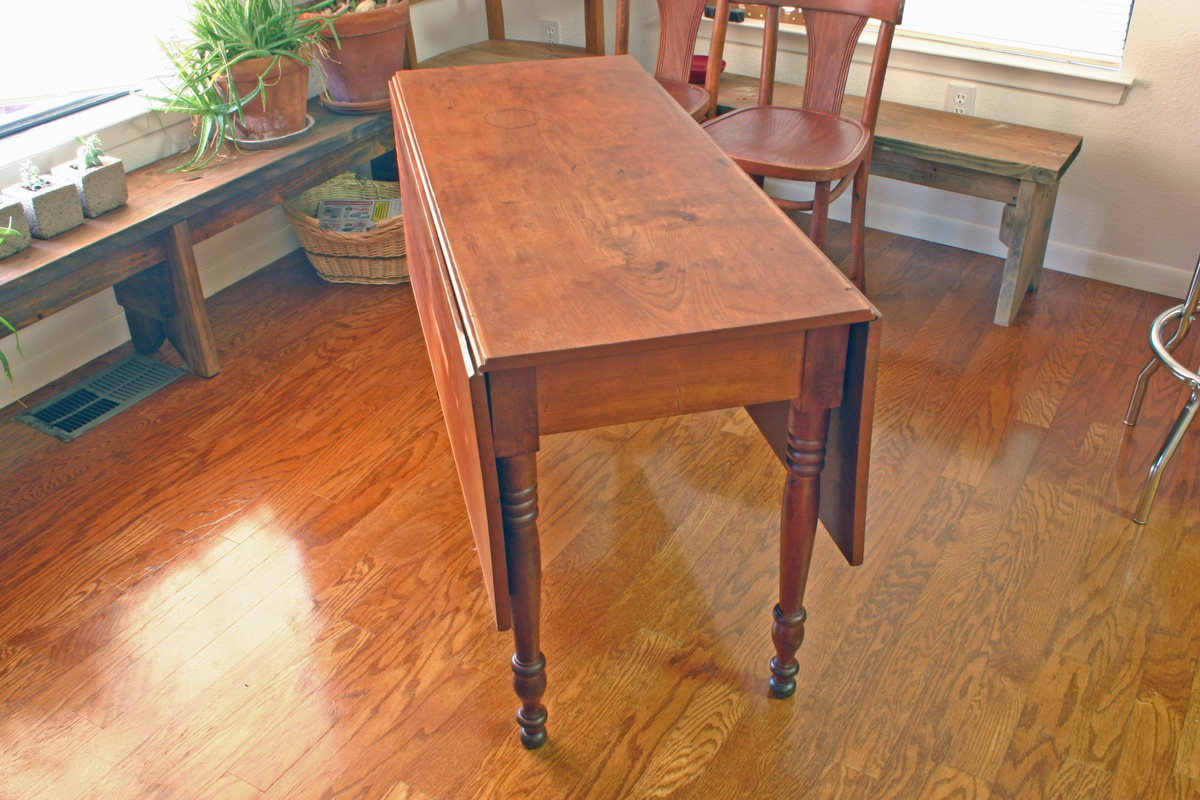
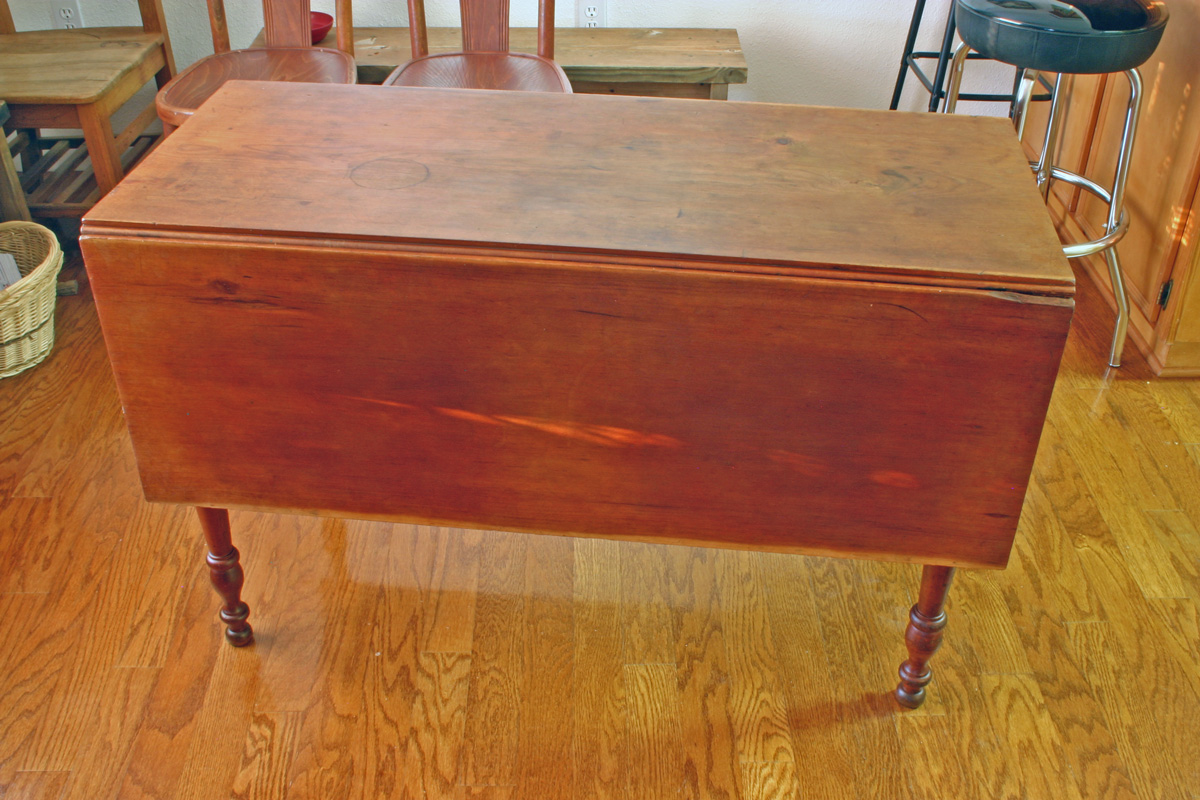
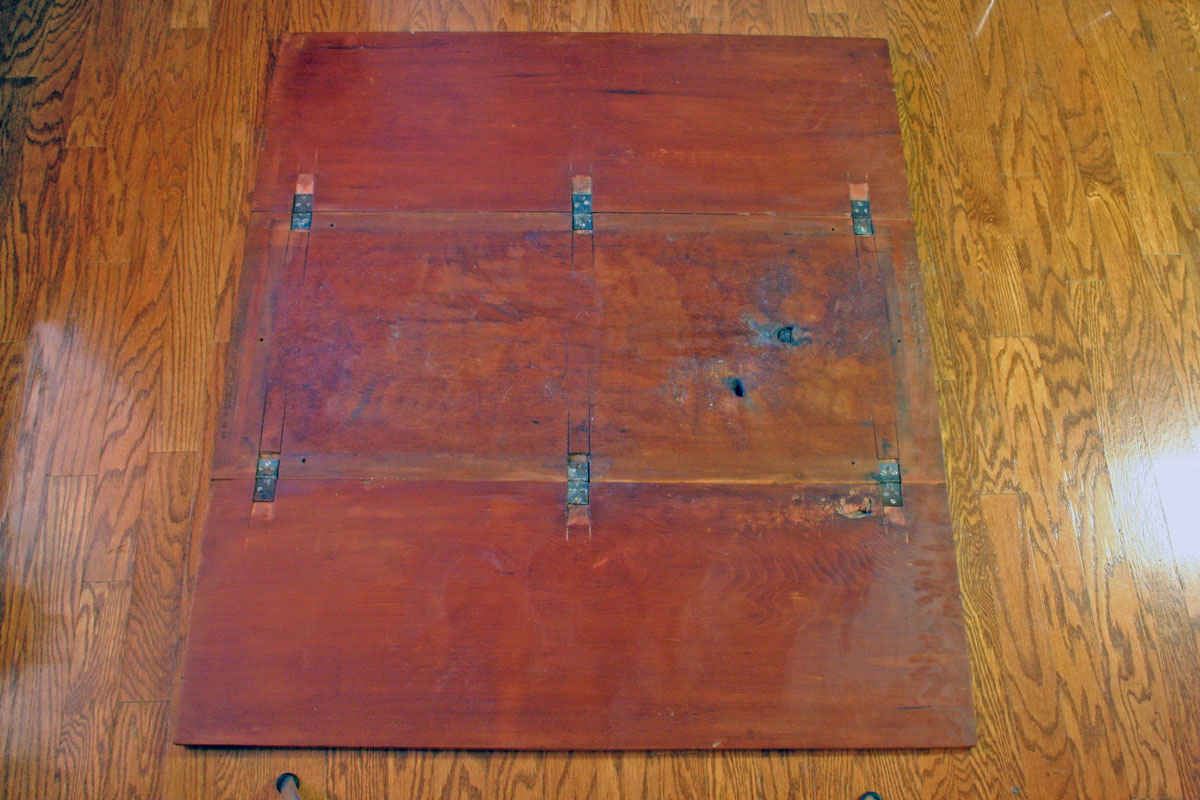
(Below) The base has been removed and the entire bottom of the table and leaves shows how the hinges were cut and chiseled into place. The image with the base reinstalled shows the "new" Ash corner blocks I added during the restoration process (both bottom-right and one upper-right). I had to replace 3 corner blocks because 1 was damaged and 2 missing & never installed. While doing this minimal restoration (re-gluing/clamping joints) I used "Restore-A-Finish" and "Feed-N-Wax" to protect and enhance the existing finish. "Restore-A-Finish" coats the wood but leaves the original finish showing through. The top of the table has NO finish left with the only original finish being on the top's edges and underside of the leaves which are still a vibrant red (not a color I would choose today, but interesting none the less). The legs have <25% of original finish left, mostly on the inside of the turnings, and are faded. The original finish reminds me of the redwood semi-transparent Thompson's Water Seal on my hot tub. Much discussion surrounds whether to restore the finish on old pieces of furniture. Taking this into consideration, this table is rather common and sells on eBay at around $300-$500, much cheaper than a new table of like quality which sells in the range of ~$2600. Since this is our current dining table and is used daily we decided a limited restoration was the logical route. Closer views of this process are shown and described lower on the page.
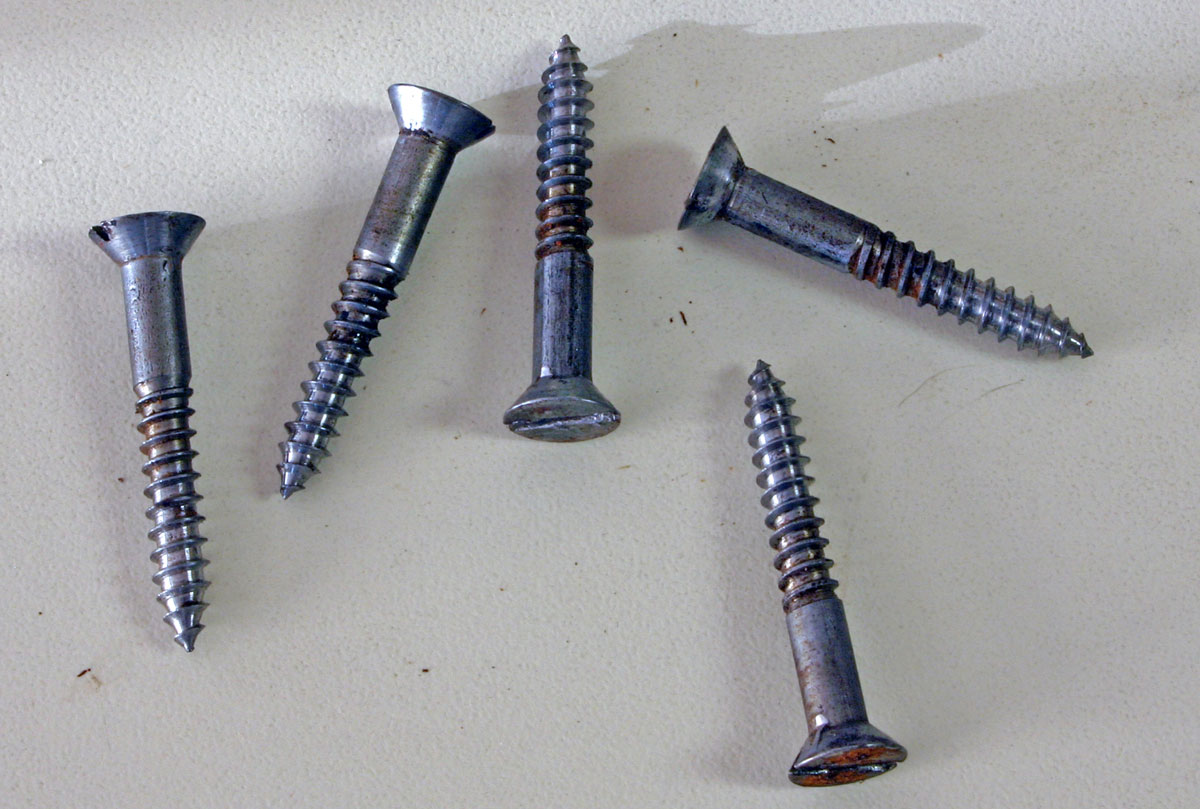
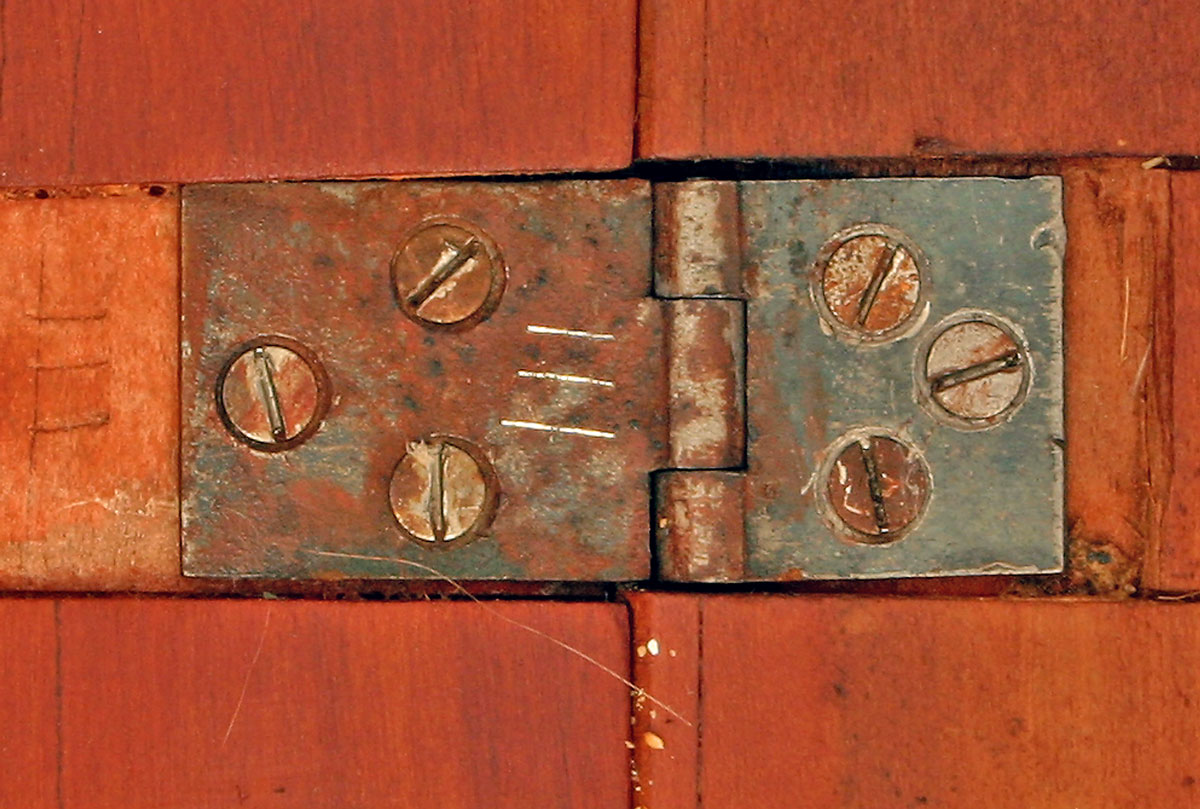
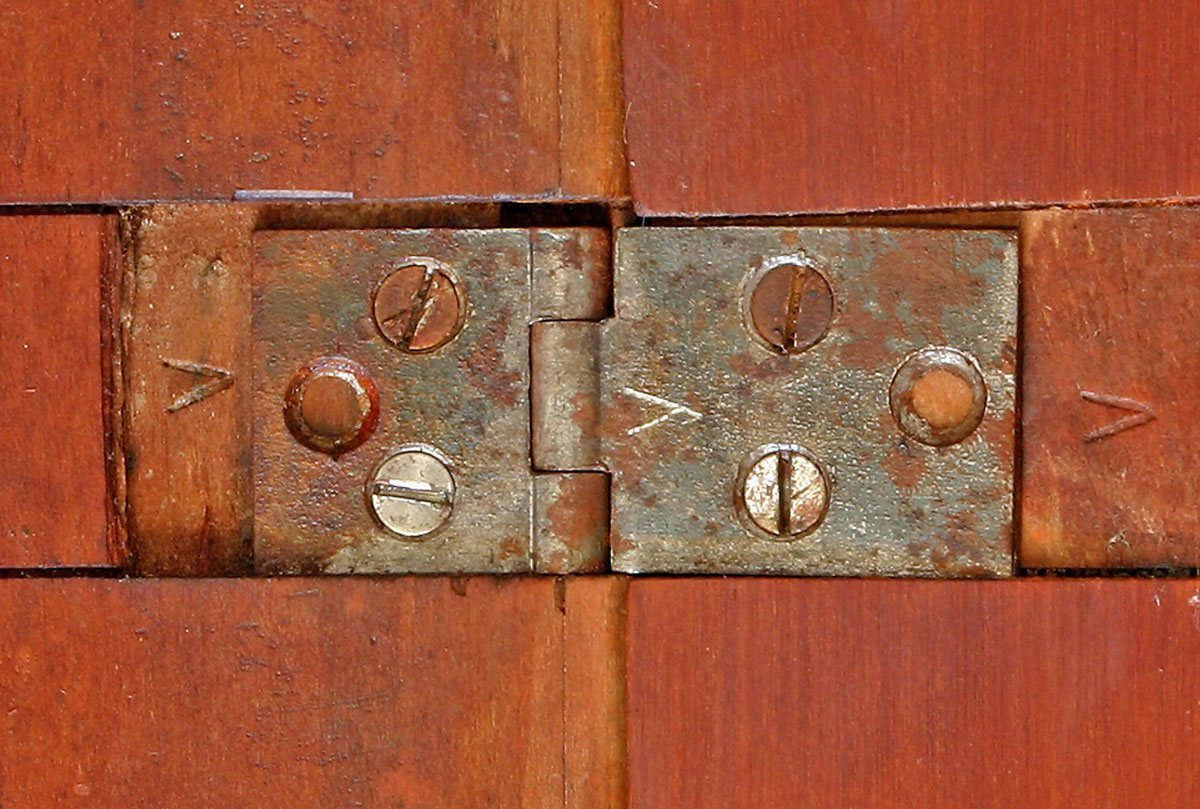
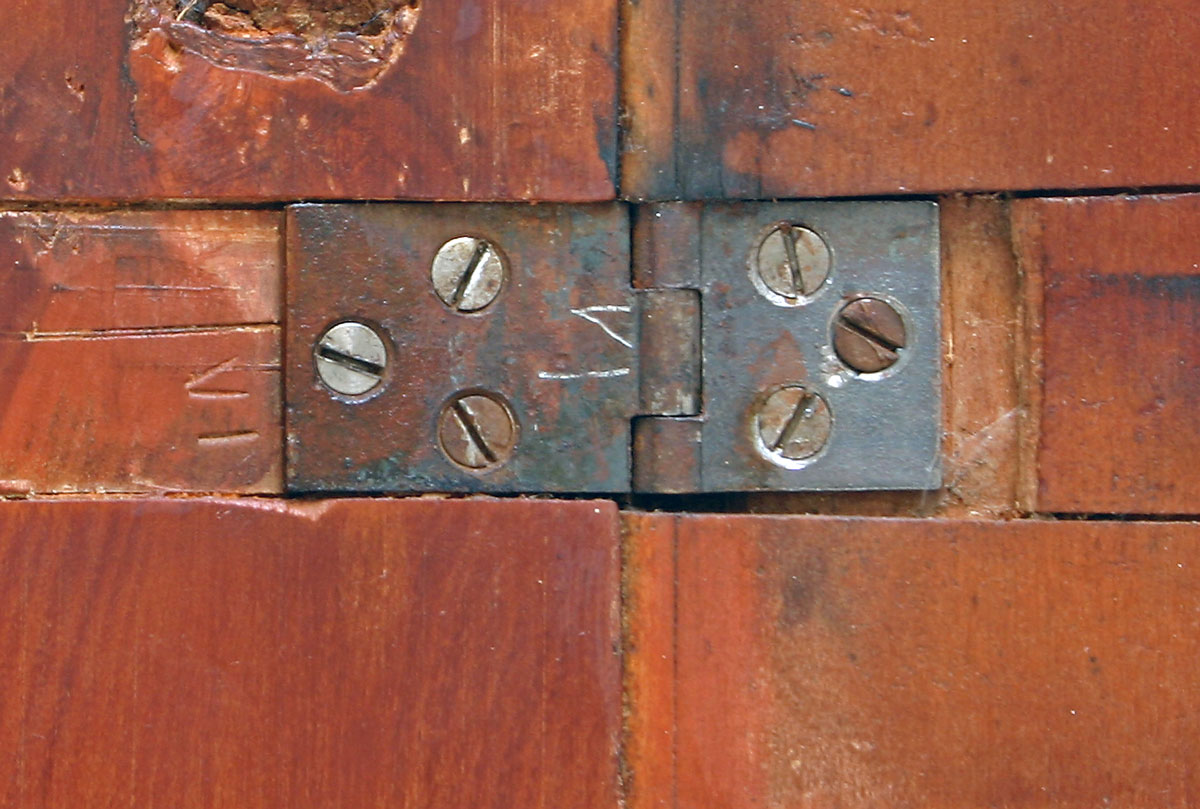
(Below) Each of the drop leaf butt hinges were numbered I-VI by the craftsman that hand cut and chiseled each into place. The butt hinges are a thick 3/32" and made out of cast iron indicating a possible manufacture date from roughly 1820-1840 (the upper left corner of this webpage explains). The middle hinges I found interesting in that both middle hinges had only 2 of the 3 screws installed on both sides of each hinge whereas all 4 corner hinges had all 3 screws drilled and installed on each end. Makes me wonder whether the screws were in short supply and the woodworker cut corners on the center hinges to save a couple cents. Each of the screws used on this table appear to be highly machined pieces compared to older screw types. After researching the history of wood screws in North America, I discovered that the screws in this table were machine made between 1846-56 (see page 15 in this PowerPoint Article and read here about hand finished screw slots). I noticed that not only were the screw slots off-centered in a number of the screws, the depth of the slots varied quite a bit also. Thus my table readily dates to the specific timeframe/period 1846-1856.
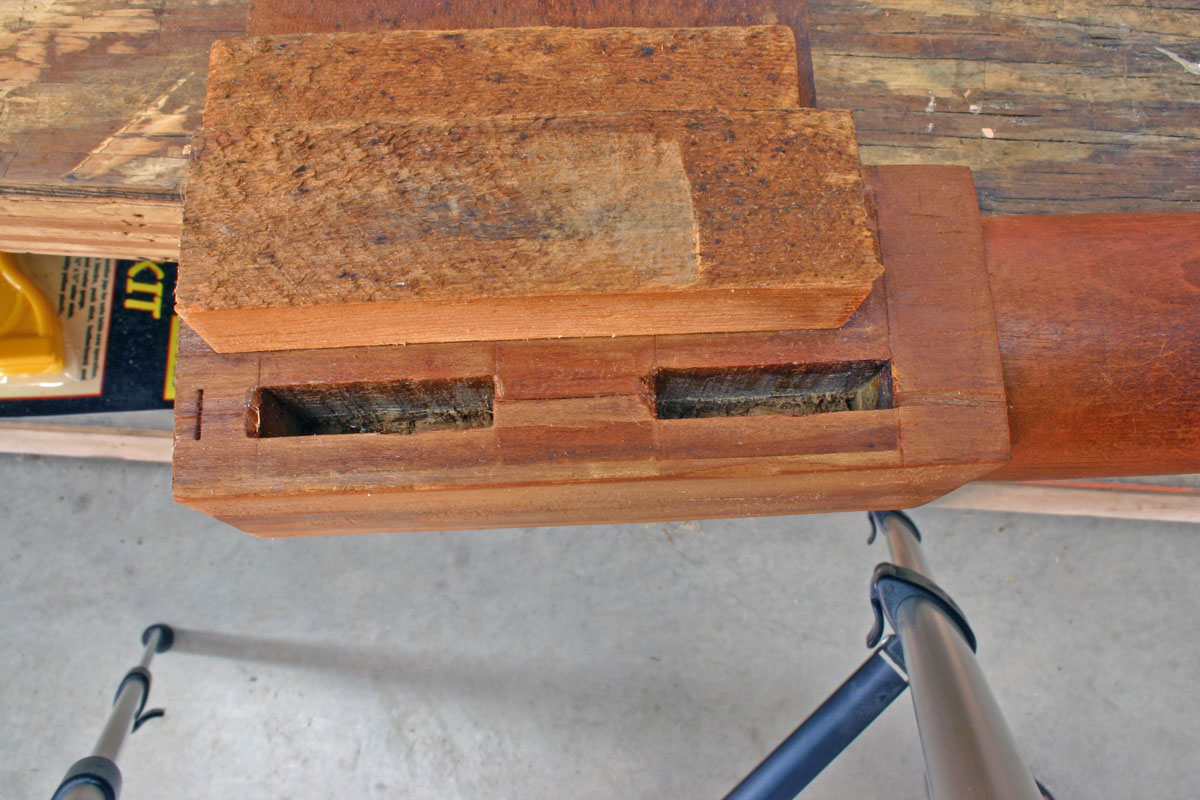
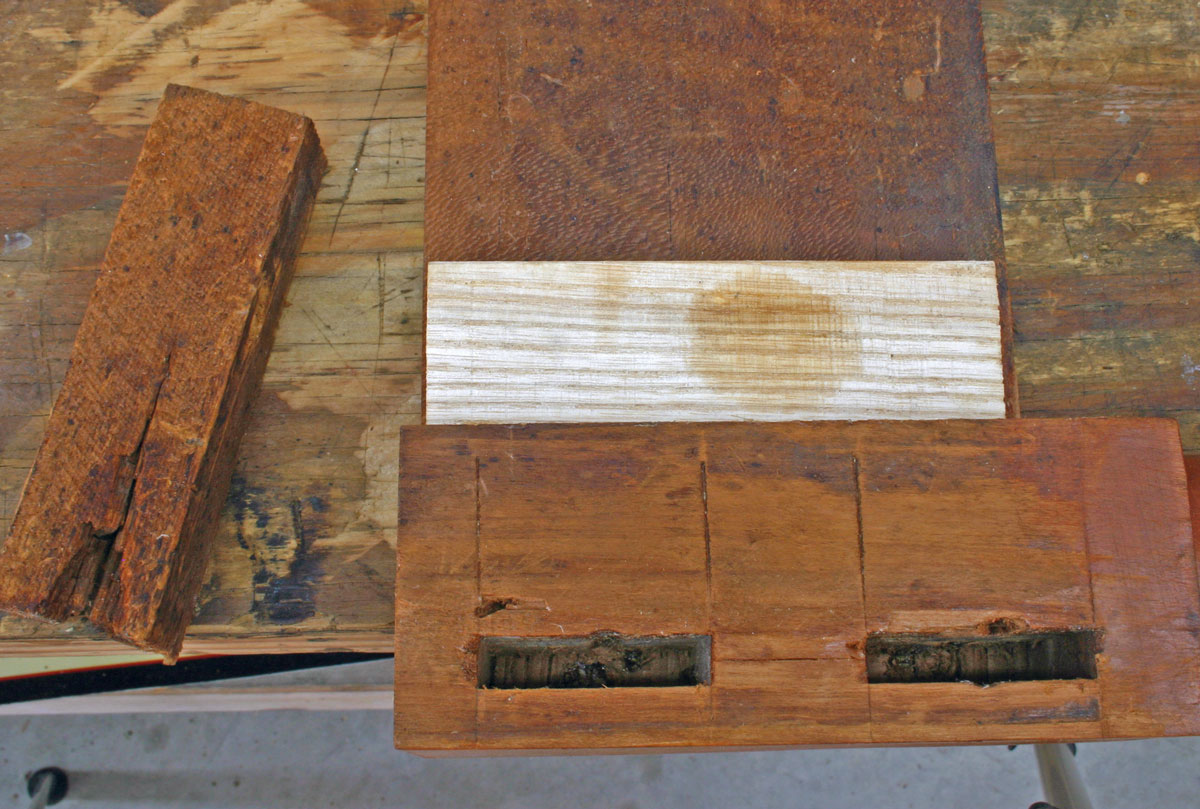
(Below) The turned legs were joined to the rail frame with double mortise & tenons. Corner blocks were also used to strengthen the joint and the image below shows 1 of 3 replacement Ash corner blocks used in the restoration.
(Below) Notice the angled faces of the tenon joints hand cut into the tenon. I had this glued up and in clamps before I remembered that I could have taken a better image of those angles (sorry). The pocket holes are all hand drilled and chiseled using a 7/8" screw-point wood boring bit.
|